
Atari ST external floppy cable to HxC (or a standard 3.5" drive)
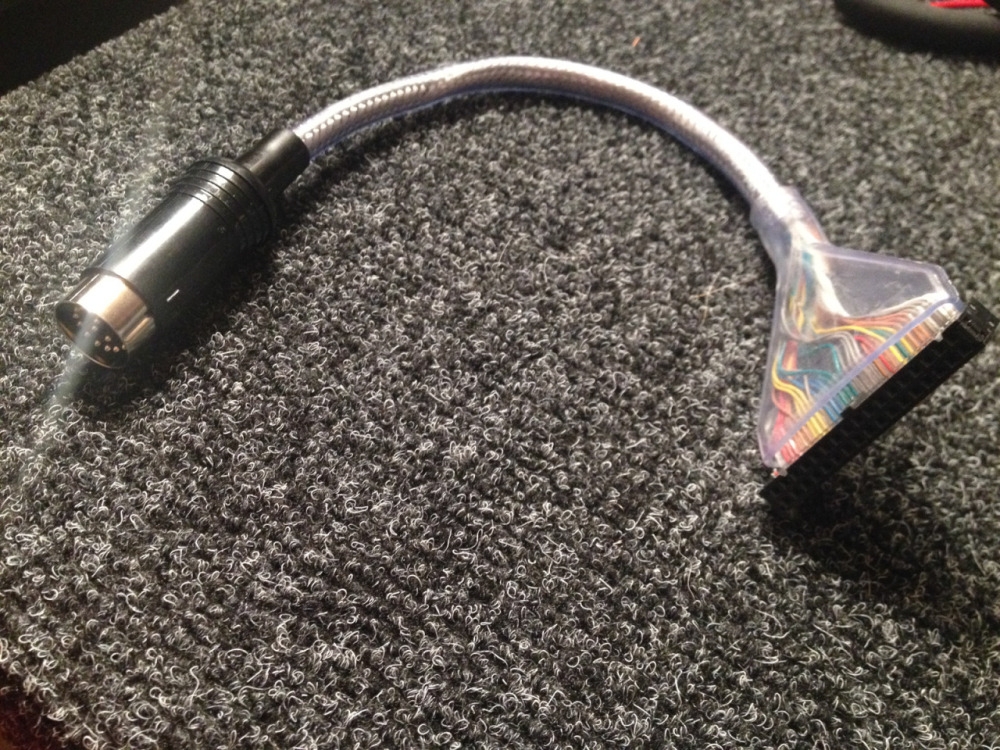
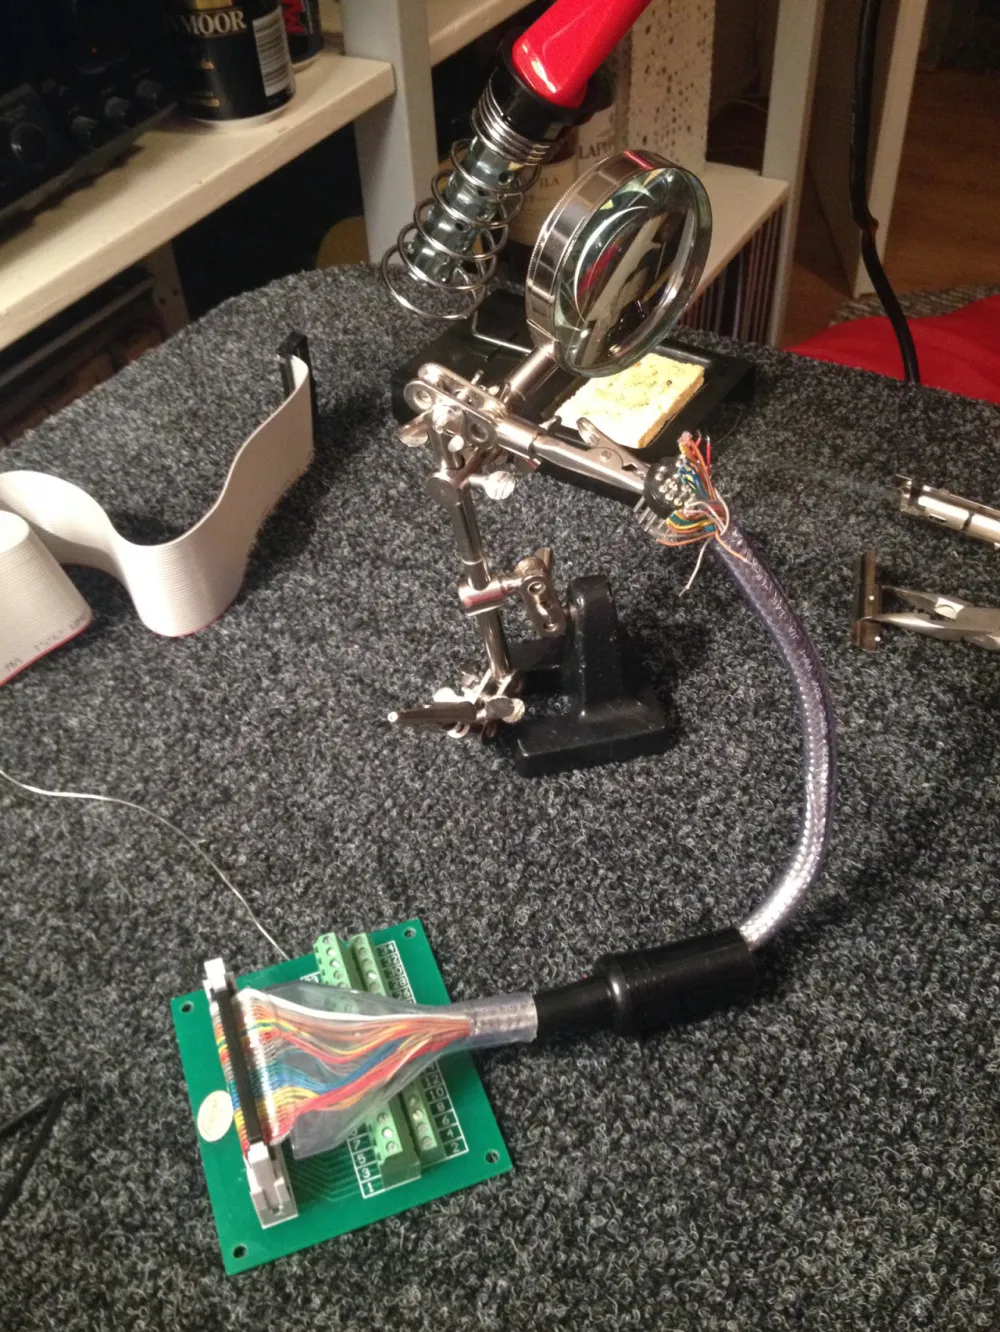
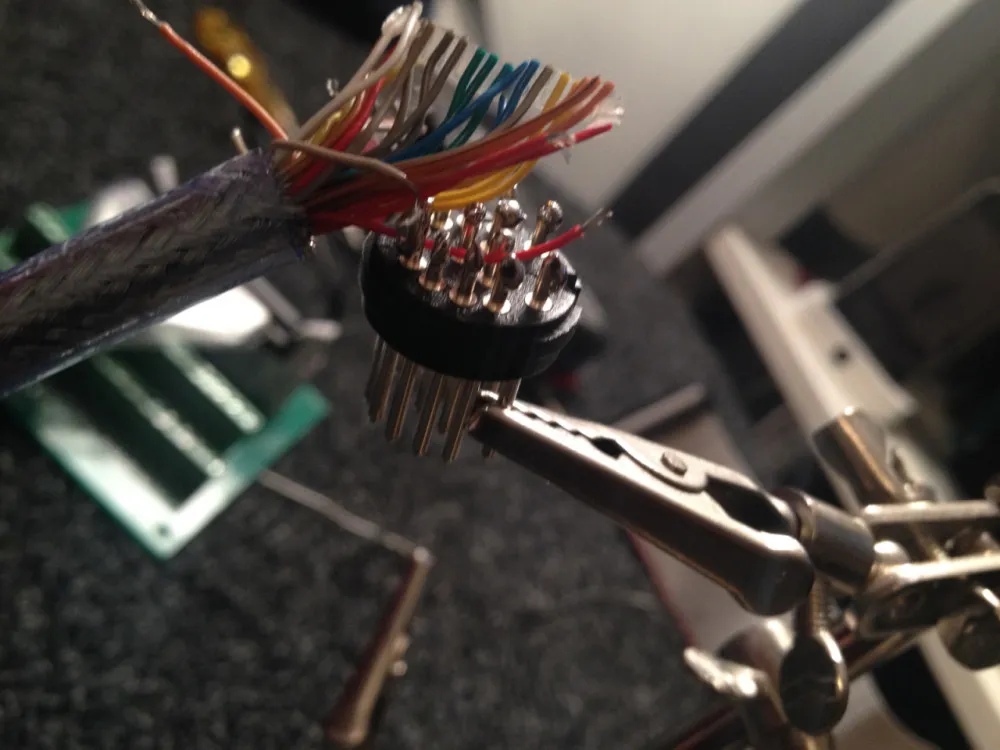
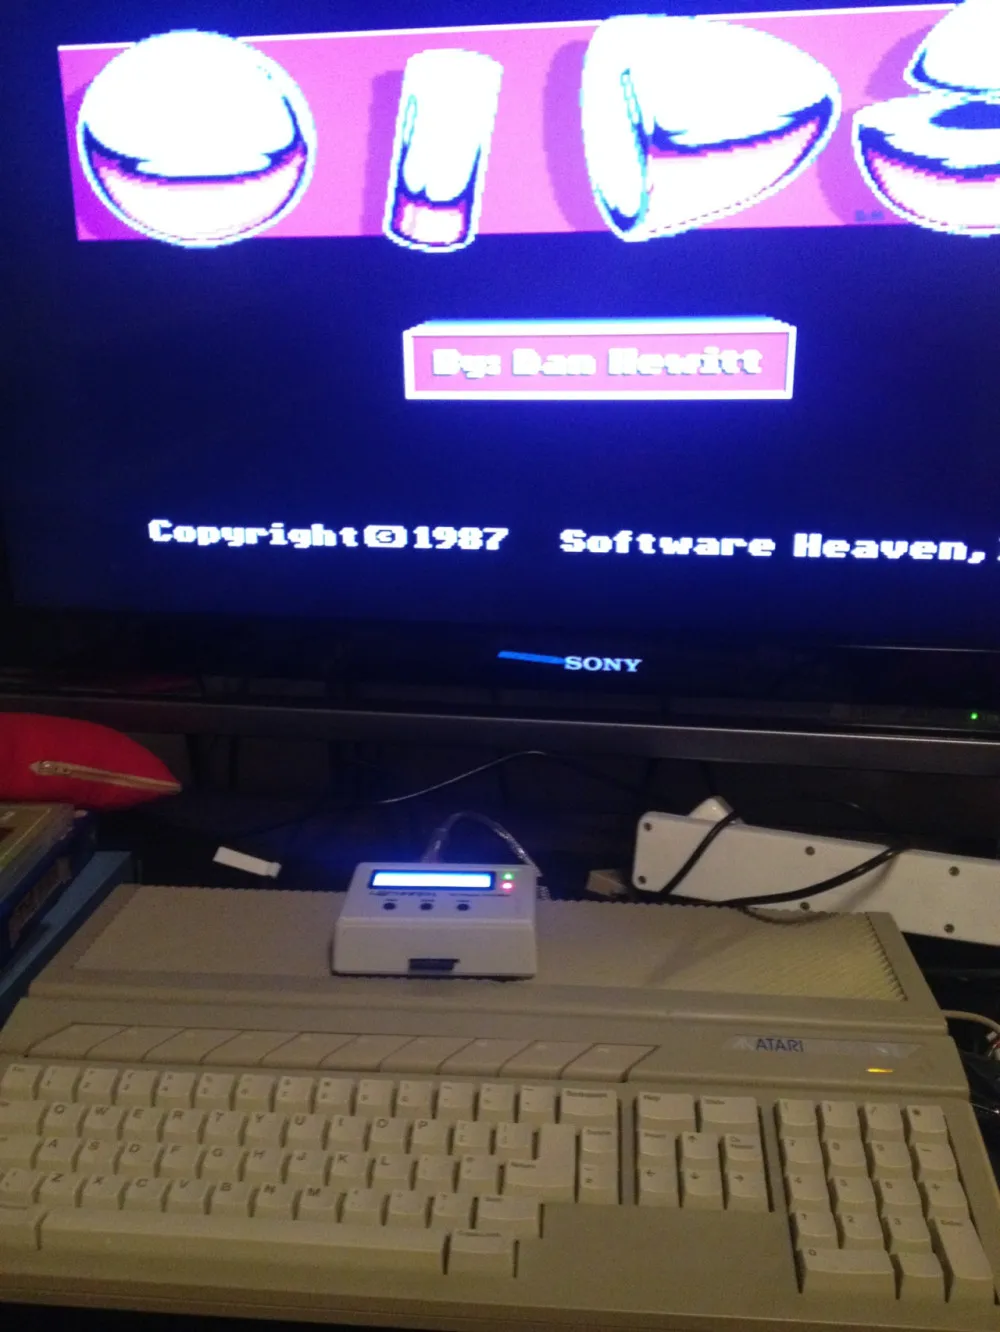
I stepped to the edges of my comfort zone and soldered a wire adapter to connect HxC to Atari ST via the external floppy port. I already had purchased a couple of 14-pin DIN connectors, and to make the soldering a bit easier, I used an existing floppy cable having all the wires color coded, and a tryout board + multimeter to verify we have right pins connected.
The 14-pin DIN connector is not that easy to find, but you could get one from eBay or www.amabilidade2002.com. Another option is to use an existing Atari ST floppy drive connector and solder the 24-pin ribbon connector to the other end. You could find a floppy cable e.g. from st-freakz.co.uk.
What pins to connect:
- Connecting an HxC Floppy Emulator to an ST at http://www.atari-wiki.com/
- Atari Floppy Interface at info-coach.fr
Need help on soldering?
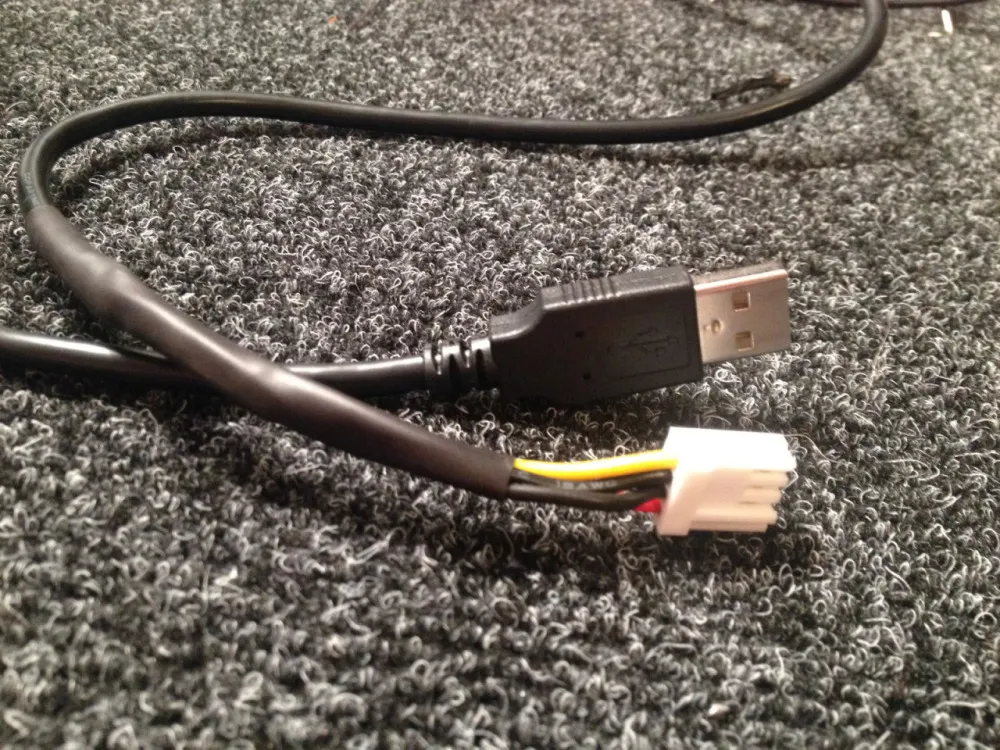
I also built a 5 V power supply for HxC from a USB-cable, and power connectors from an old PC. USB and floppy connector wiring should be easier to Google. For instance:
- http://electronics.stackexchange.com/questions/183218/can-the-data-wires-of-a-usb-cable-power-a-led
- http://www.informit.com/articles/article.aspx?p=31105&seqNum=5
I did not, at least for now, make an ABBA-switch, because it requires you to open the Atari ST case, and do some additional soldering. Also, you should create a new hole somewhere back of your Atari to make the actual switch accessible. Not having an ABBA-switch means that I cannot boot to most games from an image on an SD-card. In practice, HxC is only seen as drive “B” for Atari. Another option would have been to replace the internal floppy drive with HxC, but this was out of the question for me.
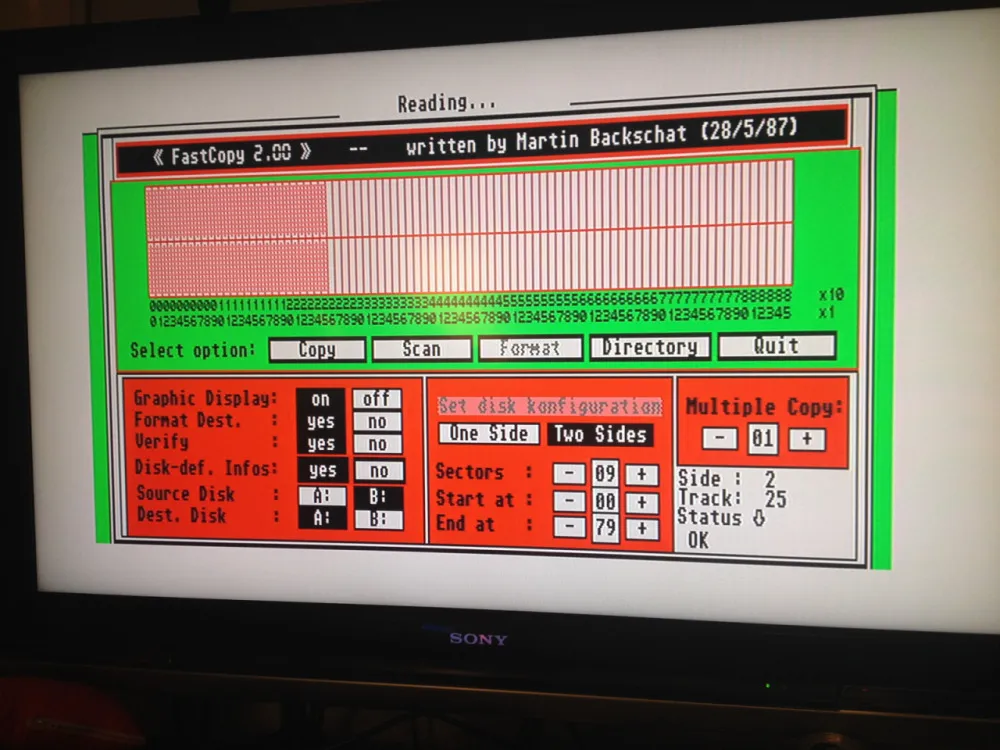
With this adapter cable + HxC, I can access the disk images, copy files back and forth, copy non-copy-protected disks to real floppies and so on. In my case, this is pretty fine, as I anyways like to play games from the extensive set of game originals I have for ST.
For the future reference, here are some ABBA-switch related links:
- http://www.atari-wiki.com/index.php/Drive_Select_Swap_Mod
- http://rdemming.home.xs4all.nl/Atari/DriveSwapAtariST/
- http://blog.troed.se/2014/10/21/atari-st-drive-a-and-b-swap/
The HxC is pretty easy to set up. Just copy the HXCSDFE.CFG to the root of SD-card, convert the disk image to .HFE format using HxC Floppy Emulator Software on Windows or Mac, and copy those HxC compatible disk images to SD-card. You may also want to use HxC Floppy Emulator Manager on your Atari ST for more convenient disk switching (not so useful for me as I cannot boot to the manager without an ABBA-switch). The extensive HxC Manual is found at http://hxc2001.com
Having HxC connected as a drive “B” only is pretty fun, but not sure how useful it is in practice. If I want to make real floppy disks from .ST floppy images, or just copy files around, I’ll probably use FloImg as described in my notes about Atari ST image formats and real floppies.